When schools and institutions decide to implement digital hall of fame displays, one of the first practical questions administrators ask is: who actually installs these systems, and how complex is the mounting, power, and network setup? Understanding installation options and vendor capabilities helps development directors, facilities managers, and technology coordinators make informed decisions about vendor selection, project planning, and budgeting for these high-visibility recognition installations typically placed near front offices and main entrances.
The installation of digital recognition displays involves coordinating multiple technical disciplines including mounting hardware to walls or creating freestanding kiosks, running electrical power to display locations, establishing network connectivity for content management, and ensuring ADA-compliant placement that maximizes visibility while maintaining traffic flow. Different vendor approaches range from fully turnkey installations handling every aspect to component-only solutions requiring schools to coordinate separate contractors for mounting, electrical, and networking work.
This comprehensive guide clarifies who performs digital hall of fame installations, what the complete process entails from initial site assessment through final commissioning, how mounting and infrastructure requirements differ by installation type, and what schools should evaluate when selecting installation partners to ensure professional results that honor donors, celebrate achievements, and function reliably for years.
The most successful digital hall of fame installations result from clear understanding of vendor capabilities, realistic assessment of internal technical resources, and careful coordination between installation teams and school facilities staff who maintain these systems long-term.

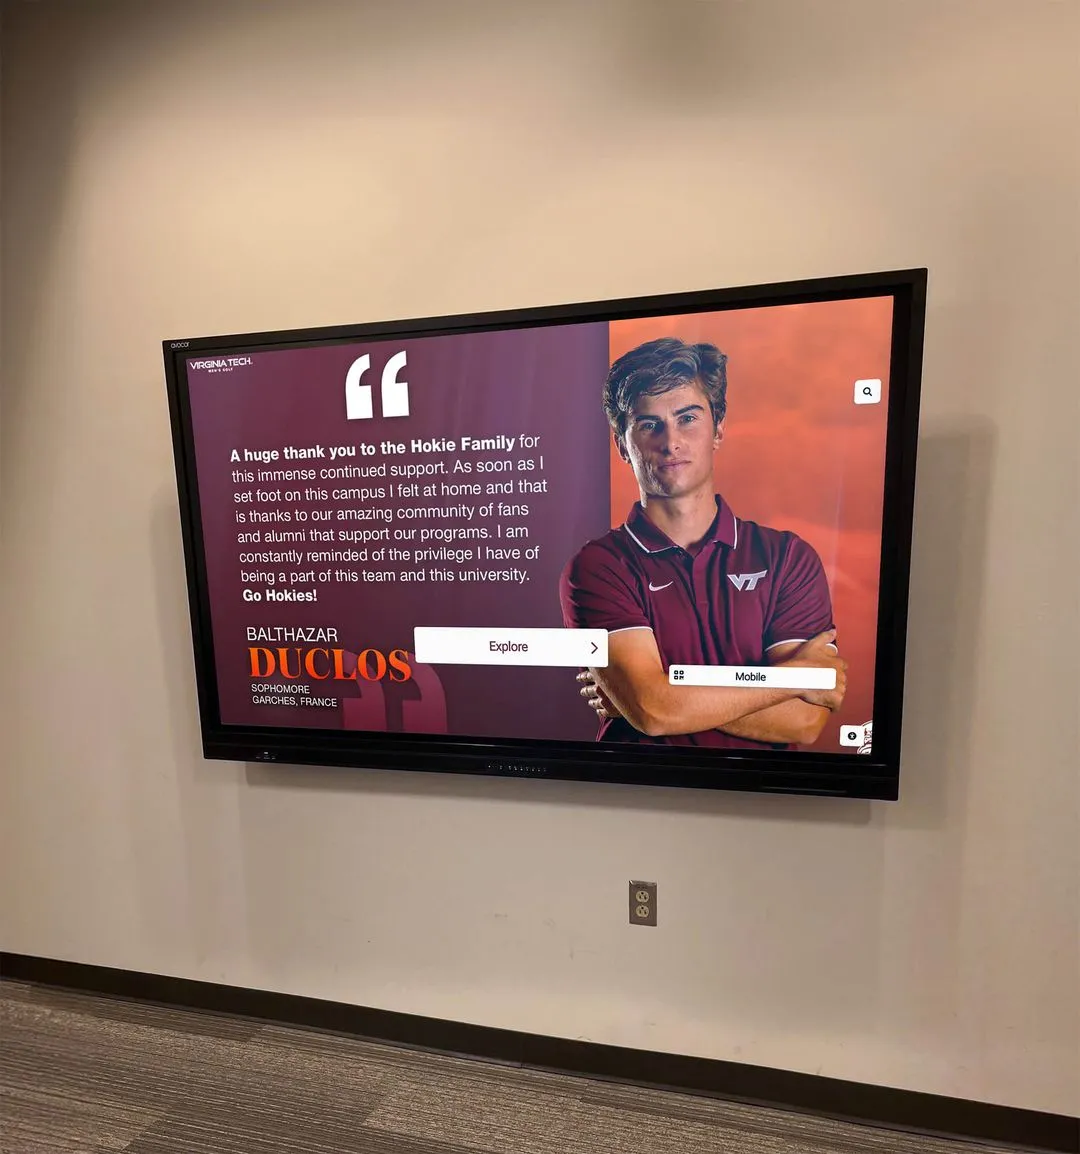
Professional installation ensures digital displays function properly in high-traffic areas like front offices and main lobbies
Who Performs Digital Hall of Fame Display Installations?
Understanding the different types of vendors and contractors involved in digital display installation helps schools identify the right partner for their specific project requirements and internal capabilities.
Turnkey Digital Recognition Platform Providers
Full-service digital recognition companies provide complete installation services as part of integrated solutions. These vendors handle every aspect from initial site survey through final training, coordinating all trades and technical requirements.
What They Handle:
- Initial site assessment and feasibility studies
- Custom design and display configuration
- Hardware procurement and delivery
- Electrical coordination and power installation
- Network infrastructure setup
- Physical mounting (wall-mount or freestanding kiosks)
- Software installation and content management system setup
- Staff training on content updates and system management
- Ongoing technical support and maintenance
Best For: Schools wanting single-point accountability, institutions without dedicated AV or IT staff to manage installations, projects requiring custom integration with existing systems, and organizations prioritizing minimal internal coordination burden.
Solutions like Rocket Alumni Solutions provide fully managed installation services, handling everything from the initial consultation through final commissioning, ensuring schools receive working systems without coordinating multiple contractors or managing technical specifications across different trades.
Audiovisual Integration Firms
Commercial AV integrators specialize in installing display technology for businesses, schools, and institutions. Many have experience with digital signage and interactive kiosk installations.
What They Typically Handle:
- Display hardware selection and procurement
- Physical mounting and installation
- Video cable infrastructure
- Power coordination (often subcontracted to electricians)
- Basic network connectivity
- System testing and commissioning
What They Usually Don’t Handle:
- Custom content management software
- Ongoing content creation or updates
- Recognition-specific design templates
- Donor database integration
- Long-term software support
Best For: Schools with existing AV relationships, institutions with in-house staff who can manage content and software, projects where display hardware is already specified, or when separating hardware installation from software management is preferred.
General Electrical and Low-Voltage Contractors
Licensed electricians and low-voltage contractors can handle the infrastructure components of digital display installations when schools source hardware and software separately.
What They Handle:
- Electrical circuits and power installation
- Network cable installation
- Mounting hardware installation (basic)
- Cable management and conduit
- Code compliance for electrical work
What They Don’t Handle:
- Display selection or procurement
- Software installation or configuration
- Content management systems
- Design services
- Network configuration beyond physical connectivity
Best For: Schools with clear technical specifications, institutions with IT departments managing software, projects where displays are already purchased, or phased installations separating infrastructure from technology deployment.
Understanding digital hall of fame implementation options helps schools evaluate which vendor approach aligns with their internal capabilities and project goals.

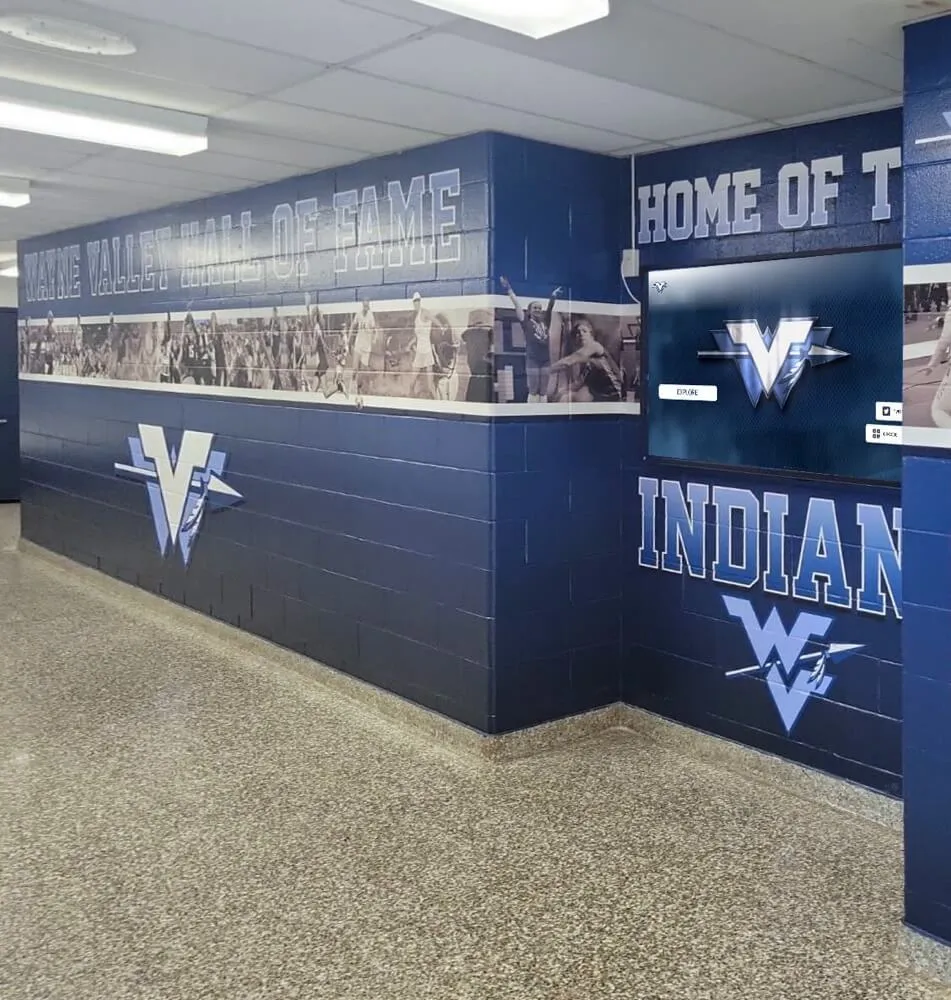
Proper installation integrates displays with existing architecture and design elements
The Complete Installation Process: What Actually Happens
Regardless of vendor type, professional digital hall of fame installations follow a structured process ensuring displays function properly and meet schools’ recognition objectives.
Phase 1: Site Assessment and Planning (1-2 Weeks)
Before any installation work begins, qualified vendors conduct comprehensive site surveys evaluating technical feasibility and optimal placement.
Site Assessment Activities:
- Evaluating proposed installation locations for visibility, traffic patterns, and accessibility
- Measuring wall structures and assessing mounting capabilities
- Identifying existing electrical circuits and calculating power requirements
- Assessing network infrastructure and connectivity options
- Reviewing ADA compliance requirements for interactive touchscreens
- Documenting ceiling heights, lighting conditions, and environmental factors
- Photographing installation areas for planning documentation
Key Decisions Made:
- Final display placement and mounting method
- Power delivery approach (existing circuits vs. new dedicated circuits)
- Network connectivity method (wired Ethernet vs. WiFi)
- Mounting hardware specifications based on wall construction
- Cable routing and concealment strategies
- Project timeline and coordination with school operations
Professional site assessments prevent costly surprises during installation by identifying structural limitations, code requirements, or infrastructure gaps before work begins.
Phase 2: Infrastructure Preparation (1-3 Weeks)
With plans finalized, installation teams prepare the physical infrastructure supporting digital displays.
Electrical Work:
- Installing dedicated electrical circuits if required
- Running conduit for power cables
- Installing electrical boxes at display locations
- Ensuring proper grounding and surge protection
- Obtaining electrical permits and inspections as required by local codes
Network Infrastructure:
- Running Category 6 Ethernet cables from network closets to display locations
- Installing network wall plates and terminating connections
- Testing network connectivity and bandwidth
- Configuring VLANs or network segments if required for security
- Setting up WiFi access points if wireless connectivity is preferred
Mounting Preparation:
- Installing wall anchors or mounting plates
- Reinforcing wall structures if needed for heavier displays
- Preparing freestanding kiosk foundations or floor mounting
- Coordinating with facilities staff regarding wall penetrations and building modifications
Many schools prefer completing infrastructure work during breaks or low-activity periods to minimize disruption to daily operations.
Phase 3: Display Installation (1-2 Days)
With infrastructure in place, installation teams mount and connect display hardware.
Installation Steps:
- Unpacking and inspecting display equipment
- Mounting displays to wall brackets or installing in kiosks
- Connecting power and network cables
- Installing and securing touchscreen components (if interactive)
- Routing and concealing cables
- Installing protective enclosures or bezels
- Cleaning displays and finishing installation aesthetics
Quality Checks:
- Verifying secure mounting and proper alignment
- Testing power delivery and electrical safety
- Confirming network connectivity
- Checking touchscreen responsiveness and calibration
- Inspecting cable management and professional appearance
![]()
Professional mounting ensures displays are secure, accessible, and properly aligned
Phase 4: Software Configuration and Content Setup (1-2 Weeks)
Hardware installation is only part of the equation. Digital recognition displays require software configuration and initial content setup.
Software Installation Tasks:
- Installing content management systems and display software
- Configuring network settings and remote management access
- Setting up user accounts and administrative permissions
- Installing security updates and system patches
- Configuring automatic updates and maintenance schedules
Initial Content Setup:
- Loading recognition templates and design layouts
- Importing donor records, honoree information, and achievement data
- Uploading photographs and multimedia content
- Configuring navigation structures and search functionality
- Testing content display and interactive features
- Creating content update workflows and documentation
Turnkey providers typically handle complete software setup, while schools working with hardware-only vendors must manage this phase internally or hire separate software consultants.
Phase 5: Training and Commissioning (1-2 Days)
Before considering installations complete, professional vendors provide training and formal system acceptance.
Training Components:
- Content management system training for designated staff
- Updating donor information and recognition content
- Adding new honorees and achievement records
- Managing photos, videos, and multimedia elements
- Troubleshooting common issues
- Understanding maintenance requirements
- Accessing technical support resources
System Commissioning:
- Final system testing with school staff present
- Verifying all features function as specified
- Reviewing warranty terms and support procedures
- Providing documentation including manuals, network diagrams, and contact information
- Obtaining formal acceptance and sign-off
Comprehensive donor recognition display planning includes clear training and commissioning to ensure long-term success.

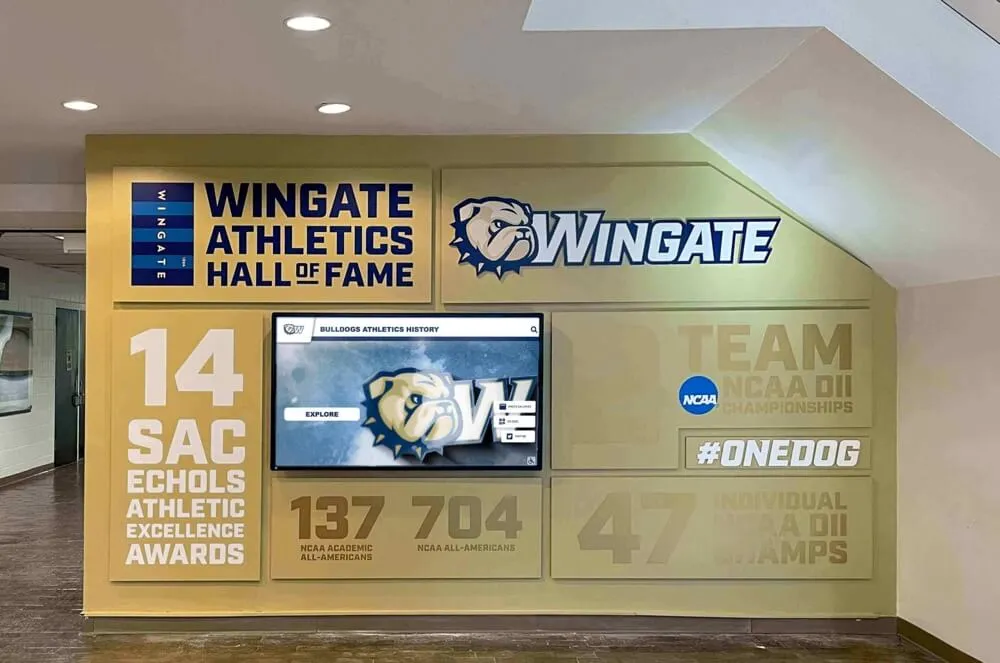
Successful installations result in professional recognition displays that schools can manage independently
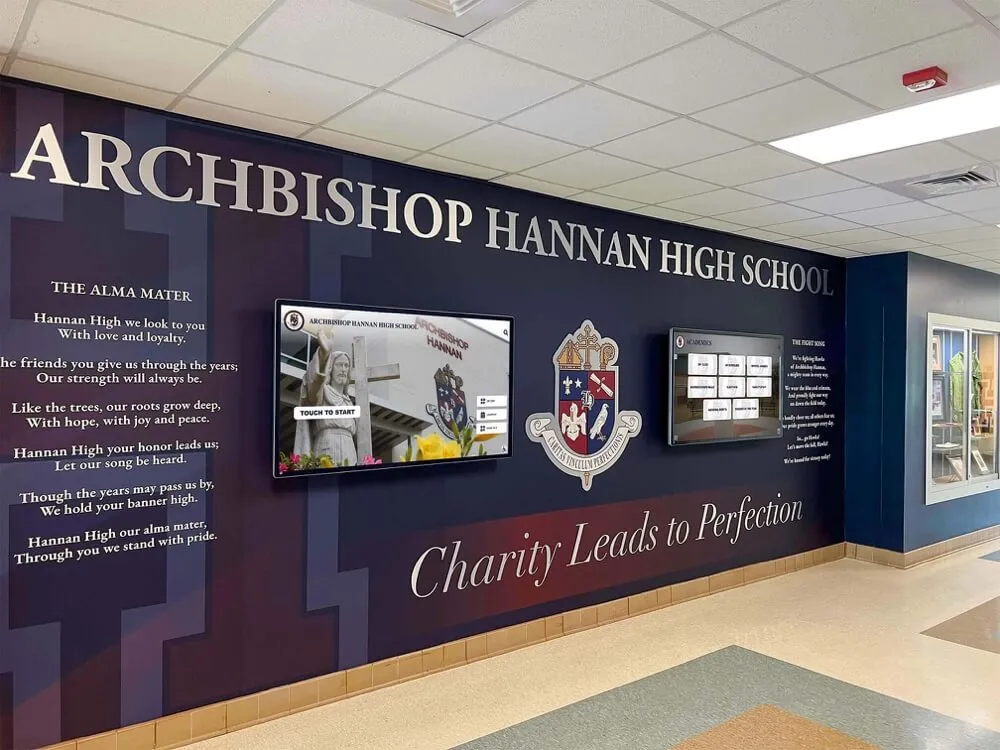
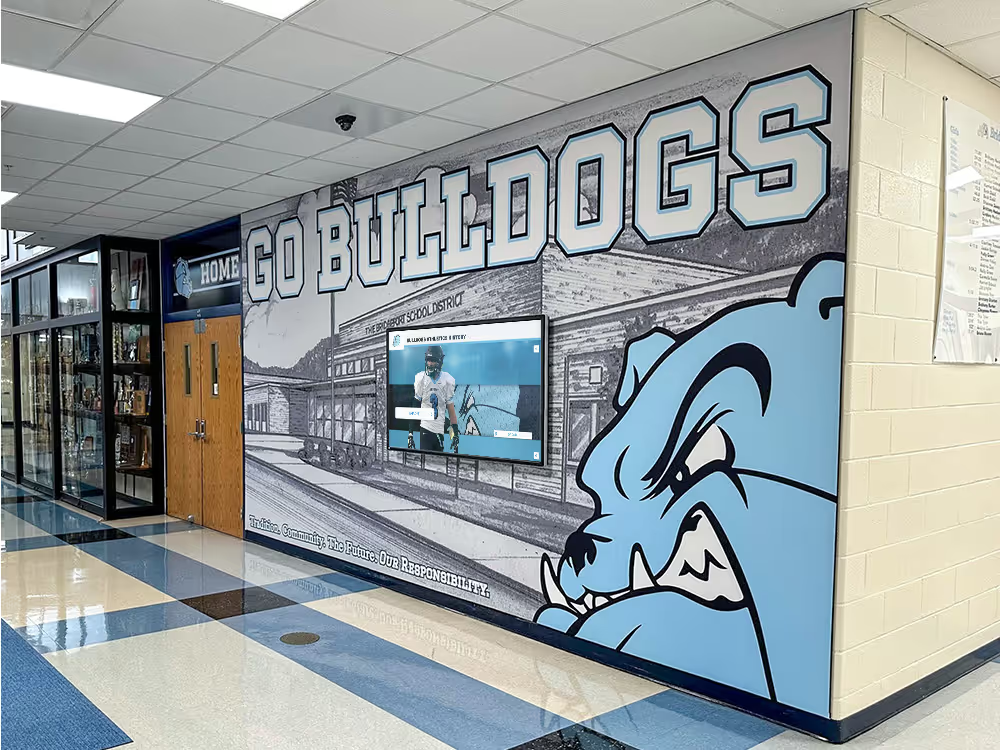
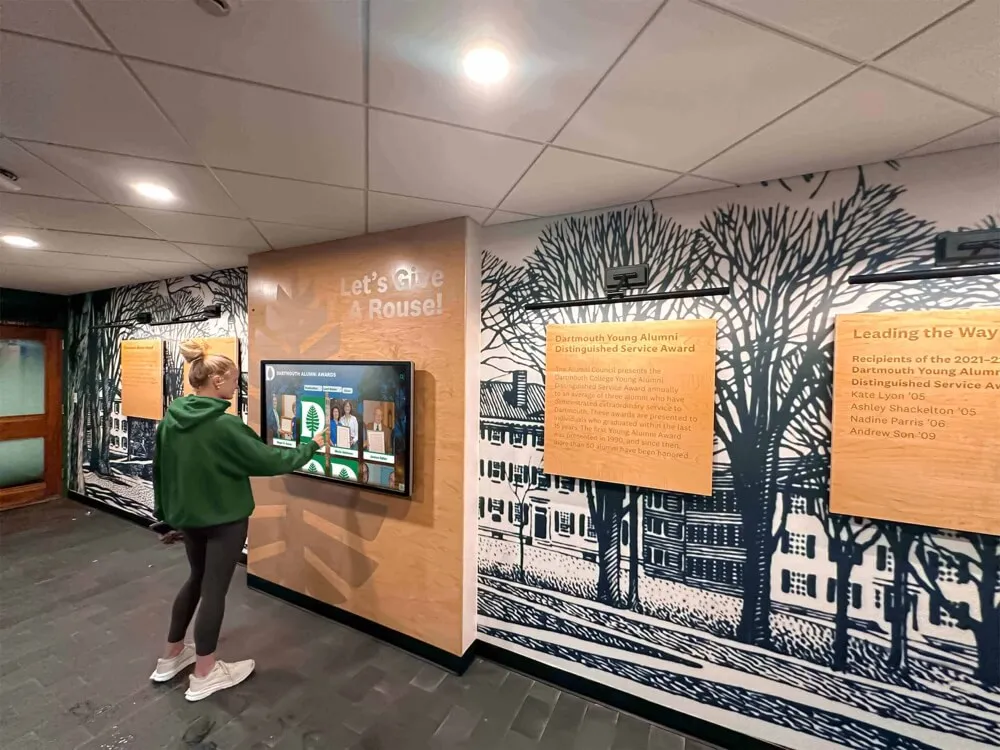
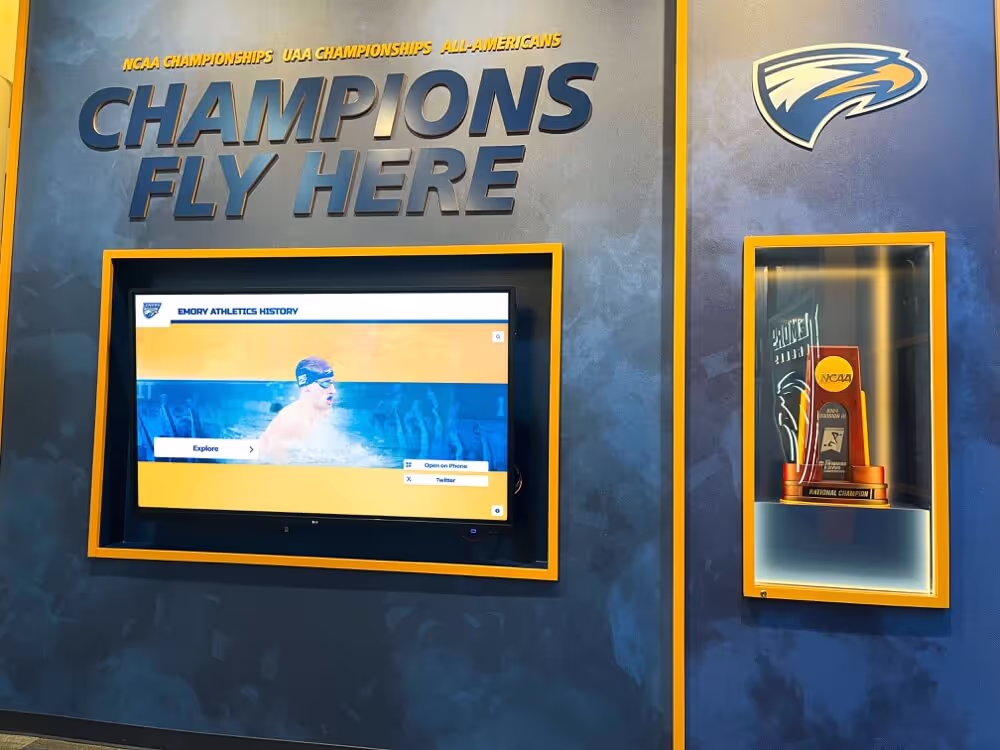
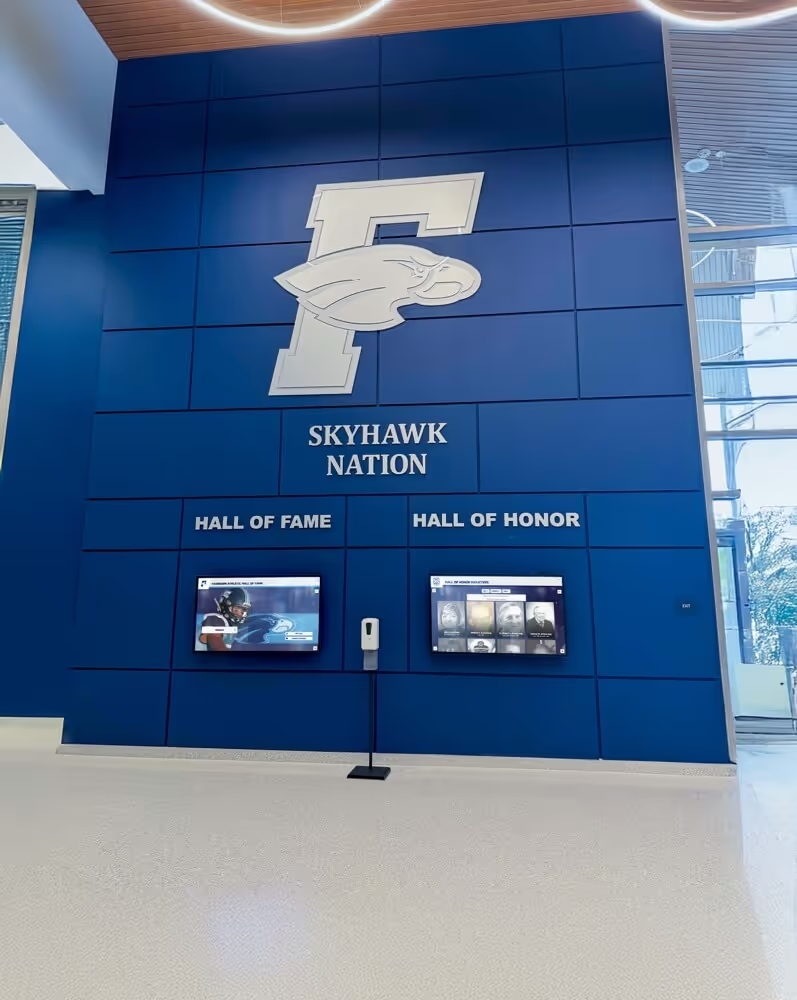
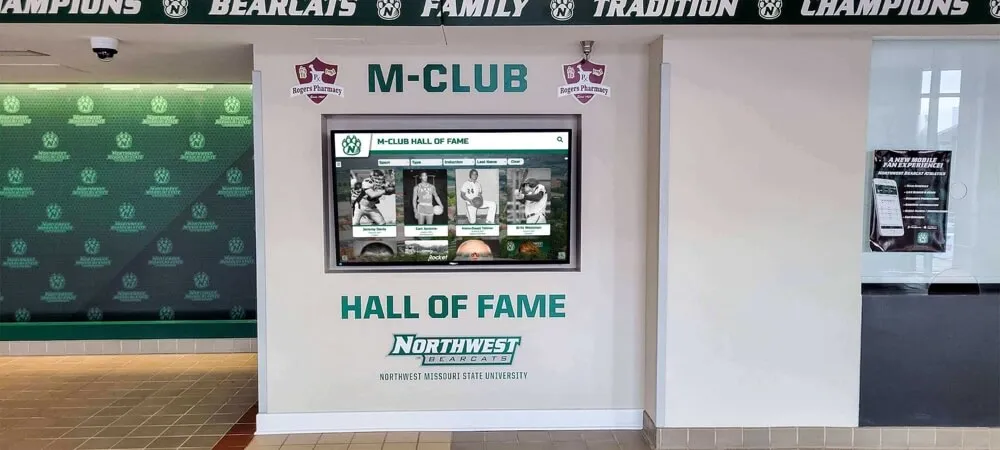
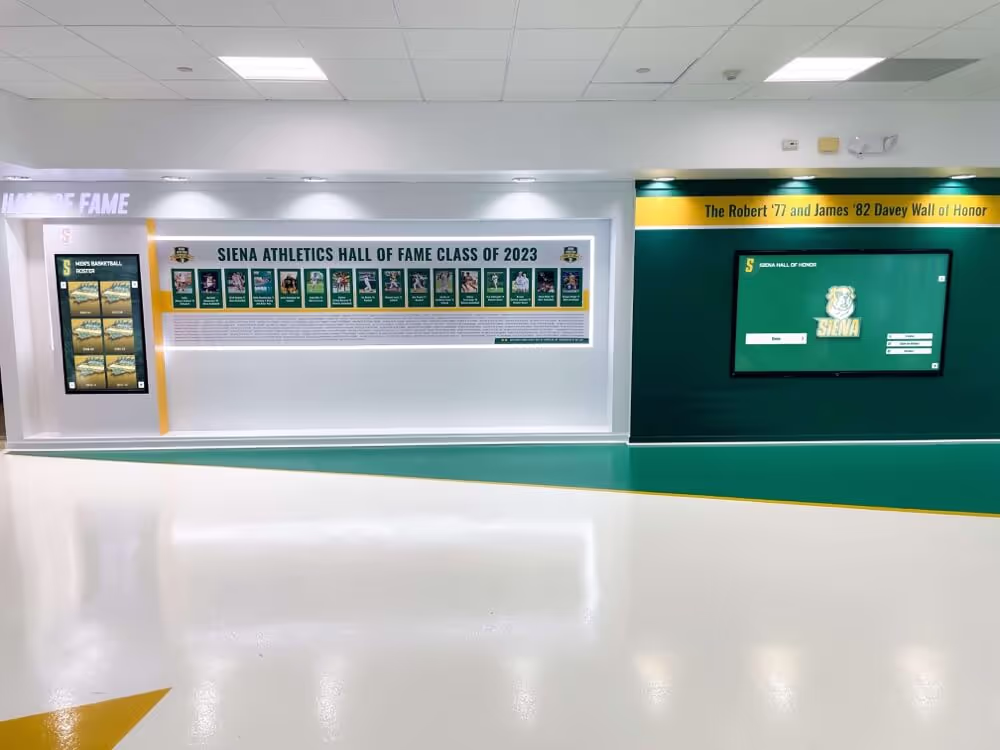
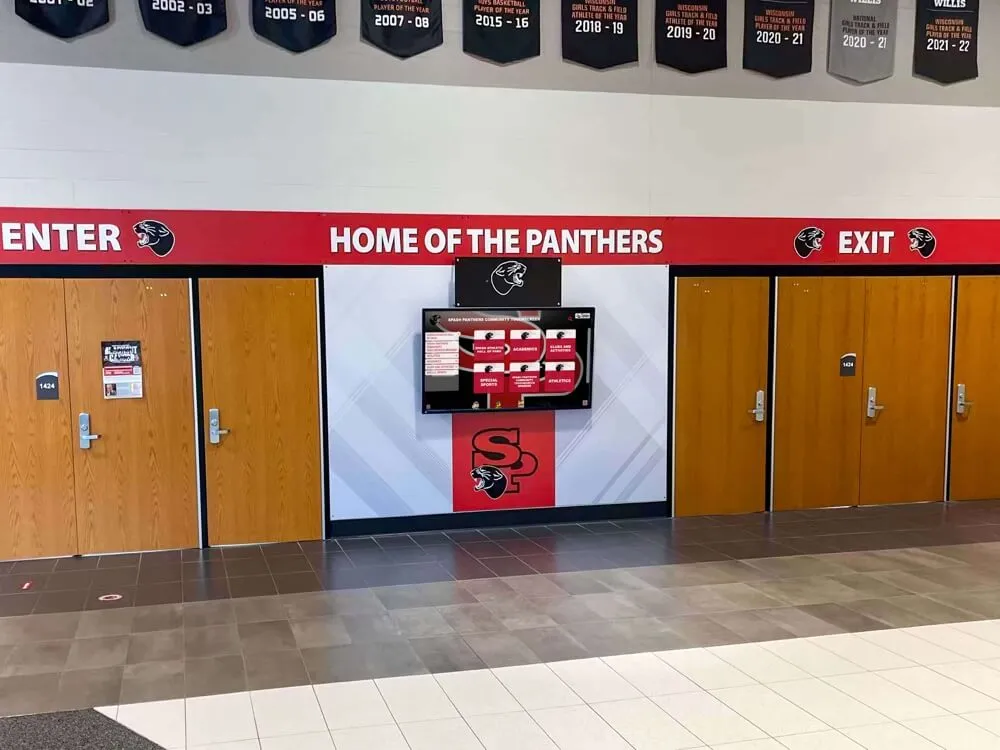
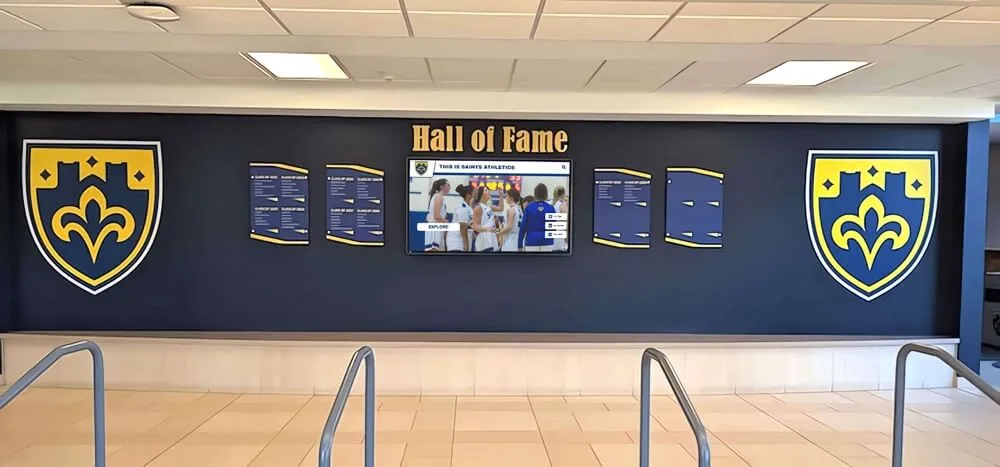
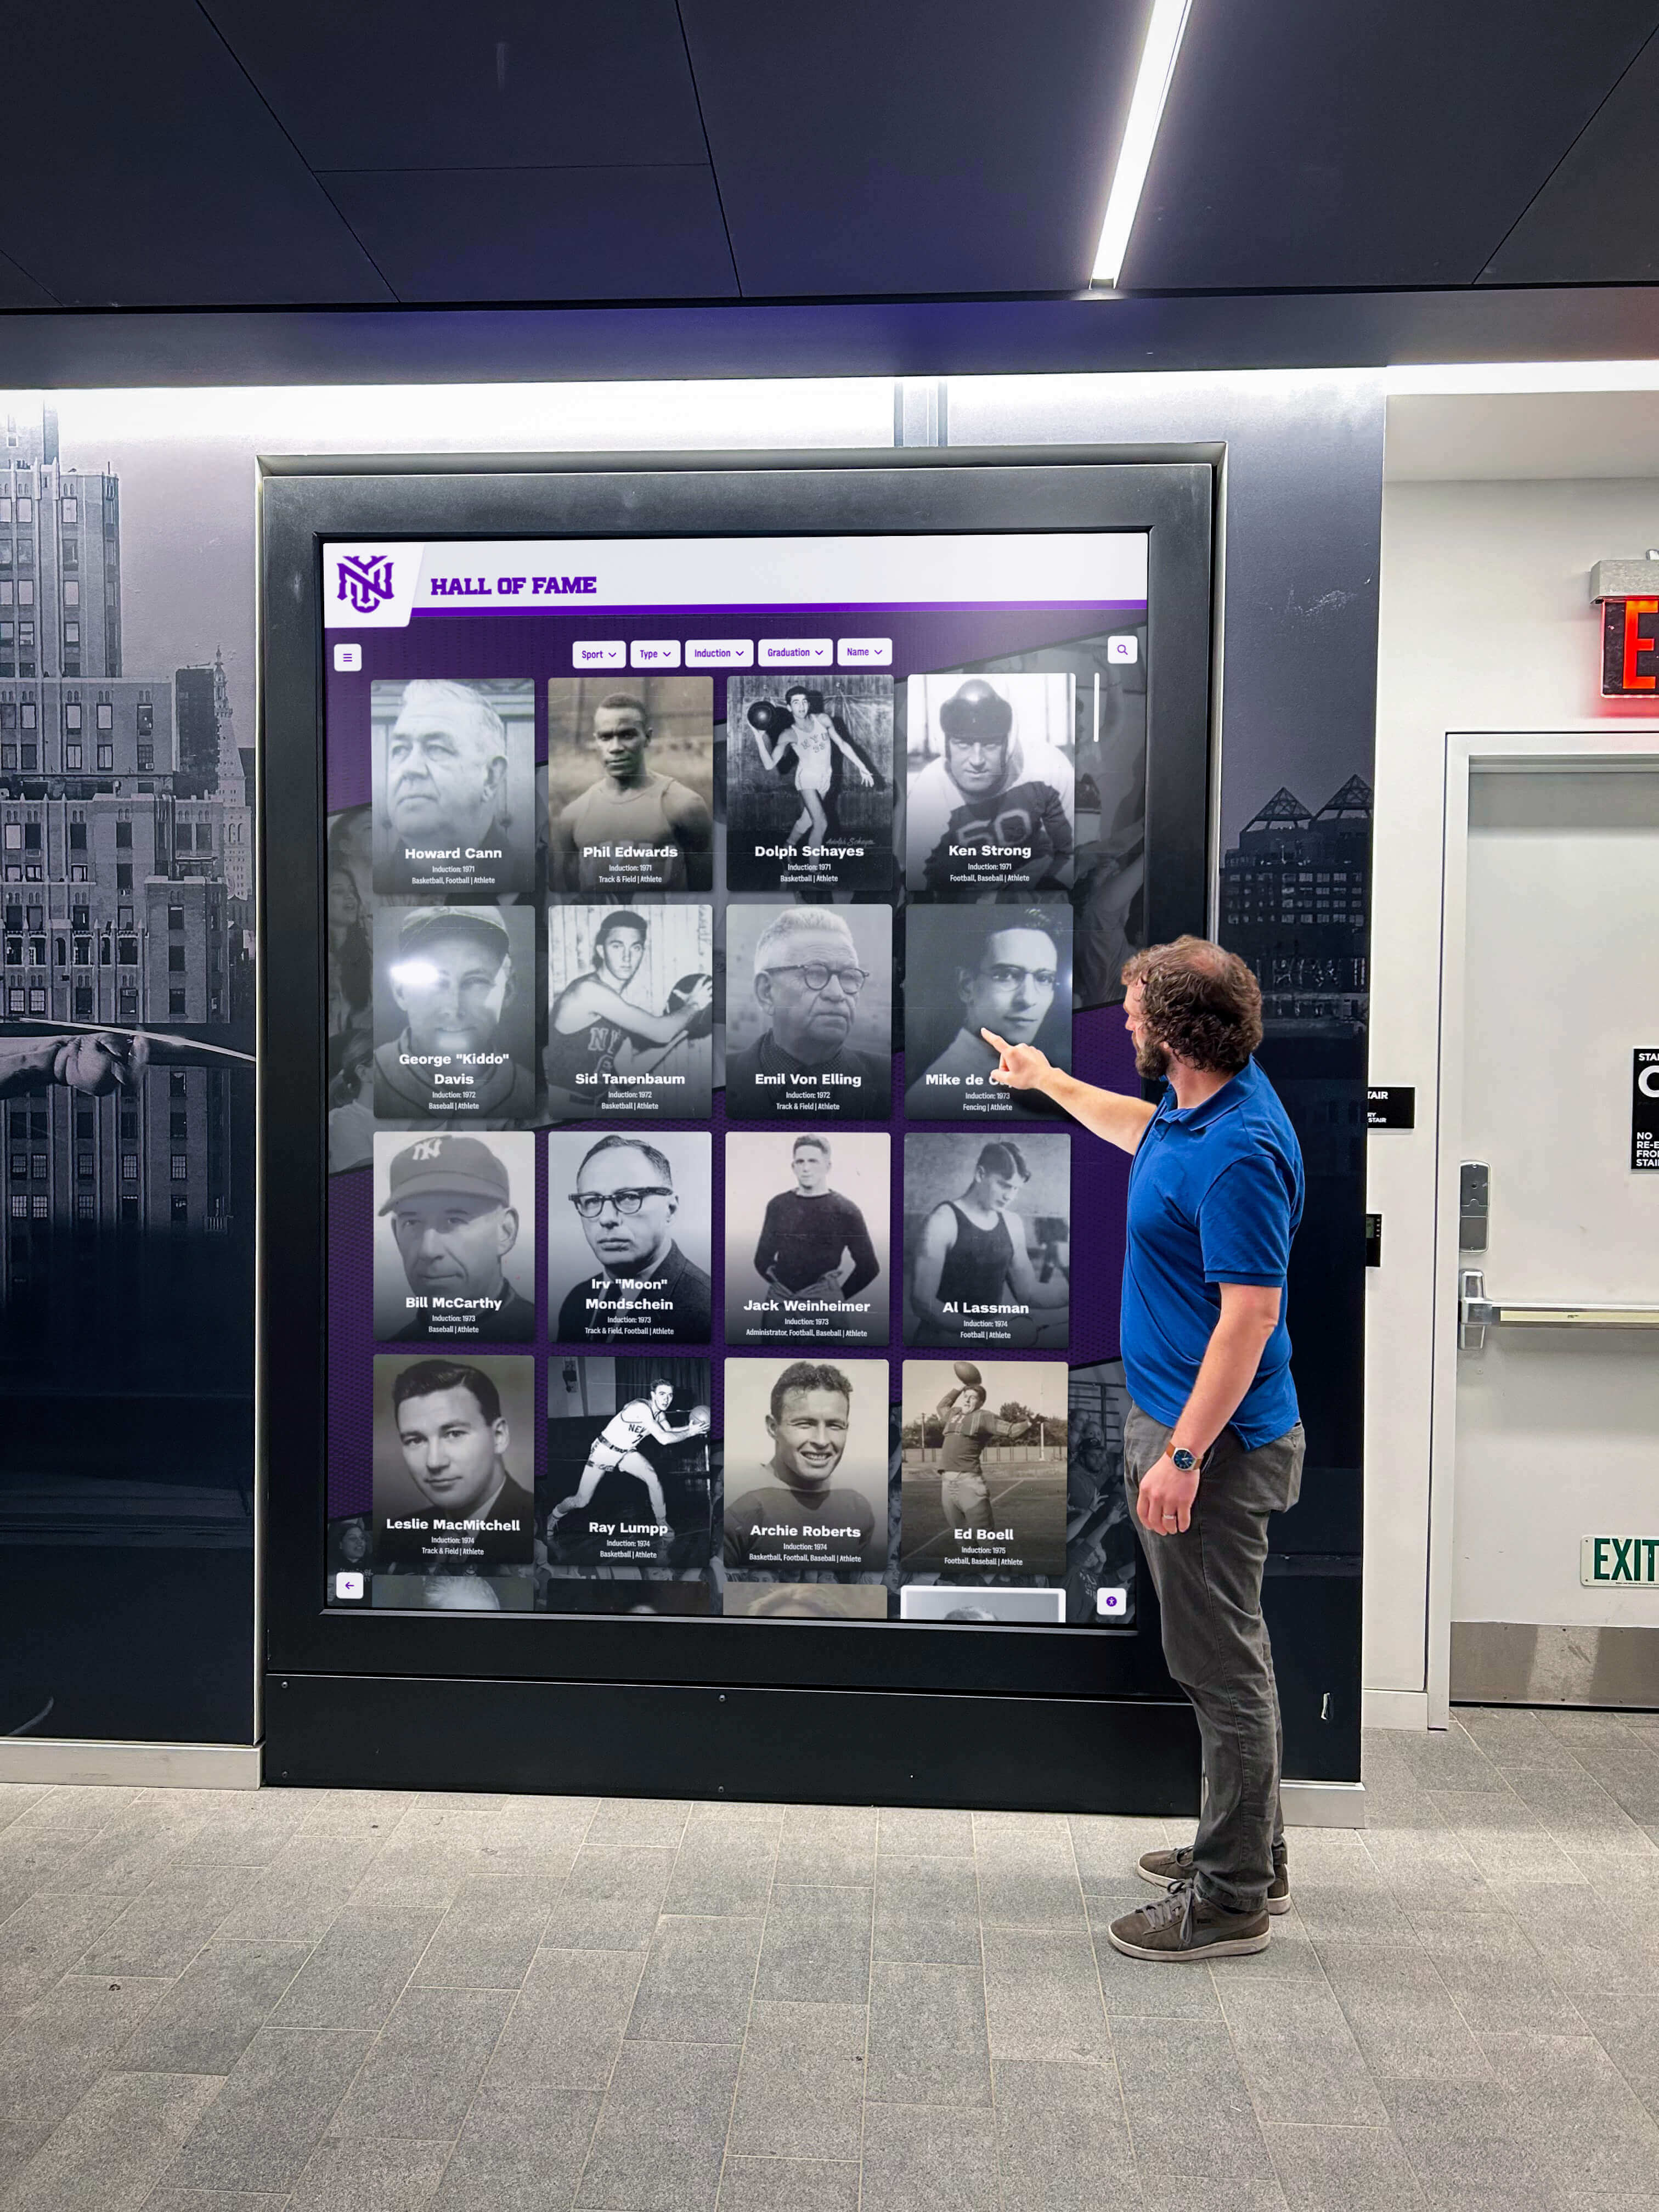
Front Office and Lobby Placement: Strategic Installation Considerations
The most common question schools ask is why digital hall of fame displays are typically installed near front offices, main lobbies, and primary entrances—and what special installation considerations these high-visibility locations require.
Why Front Office Placement Matters
Strategic placement near entrances and administrative areas serves multiple recognition and operational objectives.
Maximum Visibility Benefits:
- Every visitor, parent, donor, and guest encounters recognition messaging immediately upon entering
- Prospective families touring schools see institutional values and donor appreciation culture
- Daily traffic from students, staff, and community members creates continuous engagement
- Alumni returning for events naturally encounter recognition displays celebrating their legacy
- Central locations establish recognition as core institutional priority rather than hidden afterthought
Operational Advantages:
- Proximity to administrative offices facilitates content updates and management
- Locations near reception areas allow staff to direct visitors to recognition displays
- Network and power infrastructure typically more accessible near administrative zones
- Security monitoring easier in supervised public areas
- Climate-controlled environments protect sensitive electronic equipment
Donor Stewardship Value:
- Prominent placement demonstrates respect for donor contributions
- Visible recognition fulfills pledge agreements and naming rights obligations
- Creates opportunities for donor visits and photography at their recognition entries
- Reinforces donor confidence that contributions are valued and publicly celebrated
Schools planning capital campaign donor recognition prioritize front office placement to maximize visibility and stewardship impact.
Technical Considerations for Lobby Installations
High-traffic public areas present specific installation challenges requiring professional expertise.
Mounting Challenges:
- Lobby walls often feature decorative finishes, glass, or materials requiring specialized mounting approaches
- Architectural sight lines and aesthetics demand thoughtful placement and professional integration
- ADA requirements for interactive touchscreens mandate specific height ranges and clear floor space
- Building codes may restrict wall penetrations or require specific mounting methods in public spaces
Infrastructure Complexities:
- Power outlets may not exist in desired locations, requiring new electrical runs
- Network drops often absent in decorative public spaces designed for appearance rather than function
- Cable concealment critical in highly visible areas where exposed conduit detracts from professional appearance
- Lighting conditions in lobbies may require display brightness adjustments or anti-glare treatments
Environmental Factors:
- Temperature fluctuations near exterior entrances affect display electronics
- Natural light from windows creates glare requiring placement adjustments or screen treatments
- Humidity from weather exposure requires displays rated for broader environmental ranges
- Dust and airborne contaminants in high-traffic areas necessitate proper ventilation and cleaning protocols
Professional installers experienced with public space installations navigate these challenges, ensuring displays integrate seamlessly with existing architecture while meeting all functional and regulatory requirements.
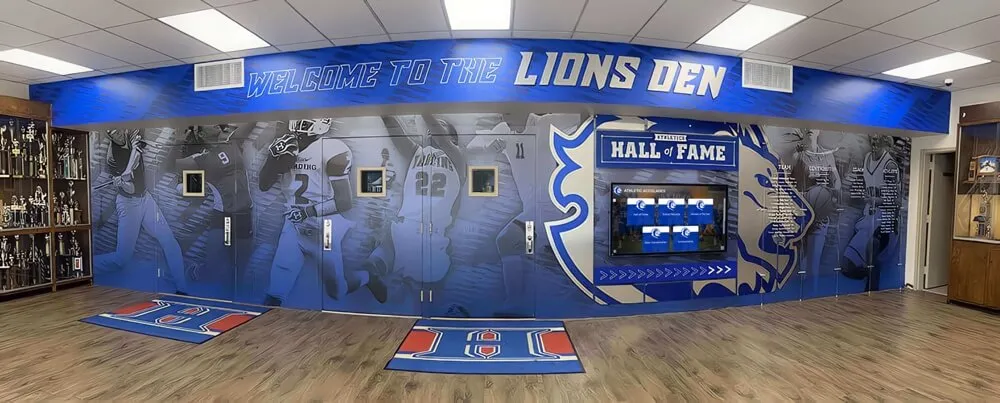
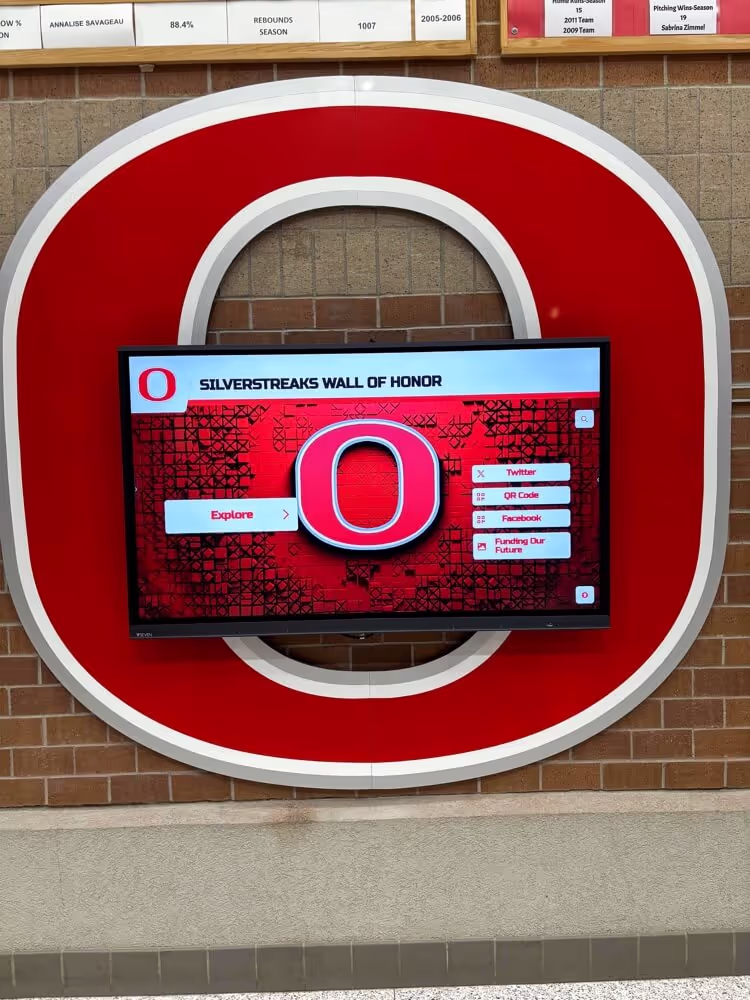
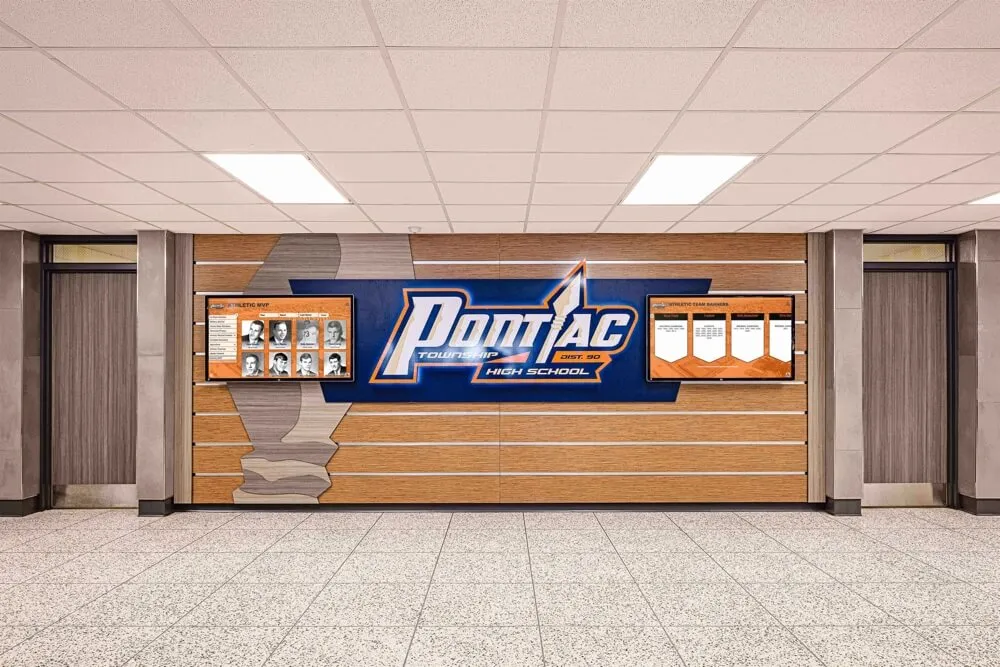
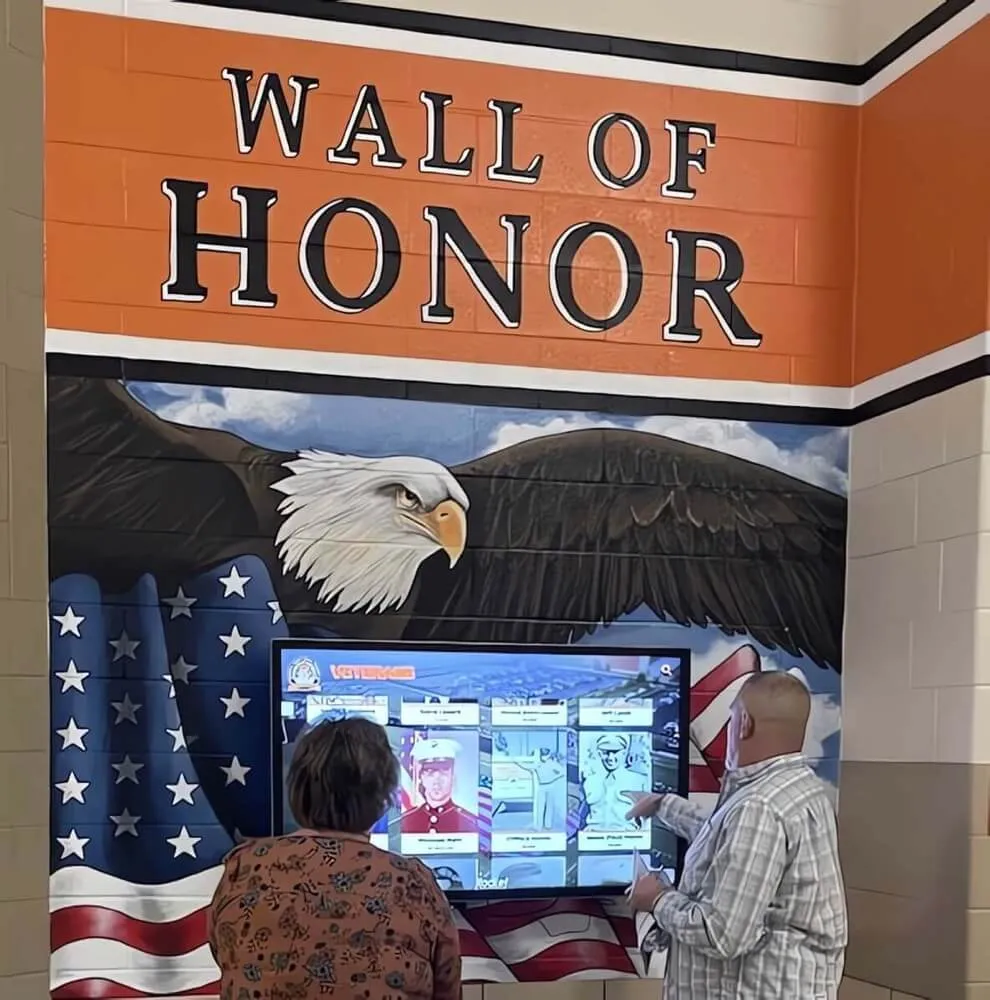
Mounting Methods: Wall-Mount vs. Freestanding Kiosk Installation
Understanding different mounting approaches helps schools select installation methods matching their spaces, budgets, and aesthetic preferences.
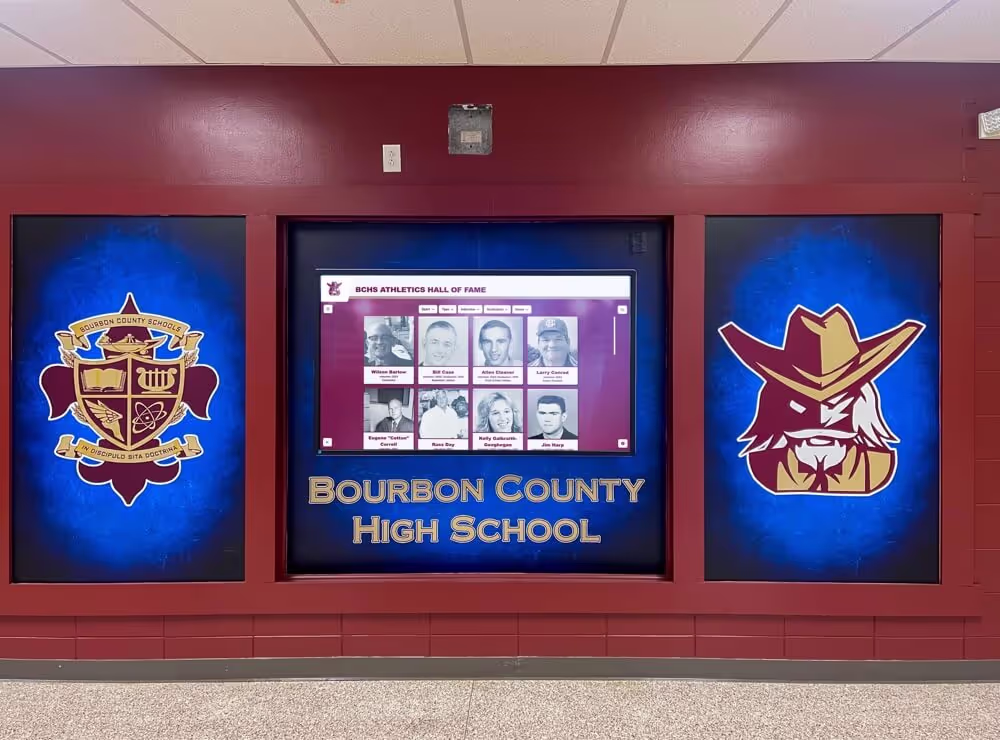
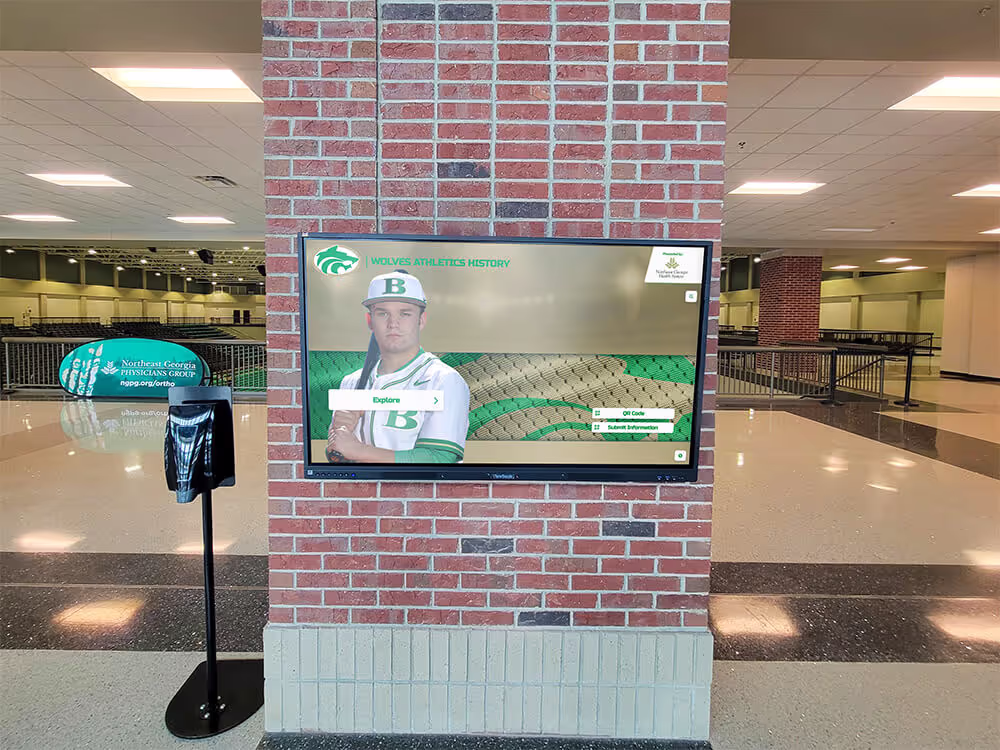
Wall-Mounted Display Installations
Wall-mounting integrates displays directly into existing architecture, creating clean integrated appearances.
Installation Requirements:
- Structural assessment verifying wall can support display weight (typically 50-200 pounds depending on size)
- Installation of heavy-duty mounting brackets rated for display specifications
- Access to wall studs or installation of wall anchors in masonry or concrete
- Coordination with facilities staff regarding wall penetrations and structural modifications
- Cable routing behind walls or through surface-mounted conduit for professional appearance
Best For: Schools with suitable wall space in target locations, institutions preferring integrated architectural appearance, locations with accessible infrastructure behind walls, and budgets prioritizing lower hardware costs compared to kiosks.
Installation Timeline: Typically 1-2 days once infrastructure preparation is complete.
Cost Considerations: Generally less expensive than freestanding kiosks, though costs increase if extensive wall preparation or reinforcement is required.
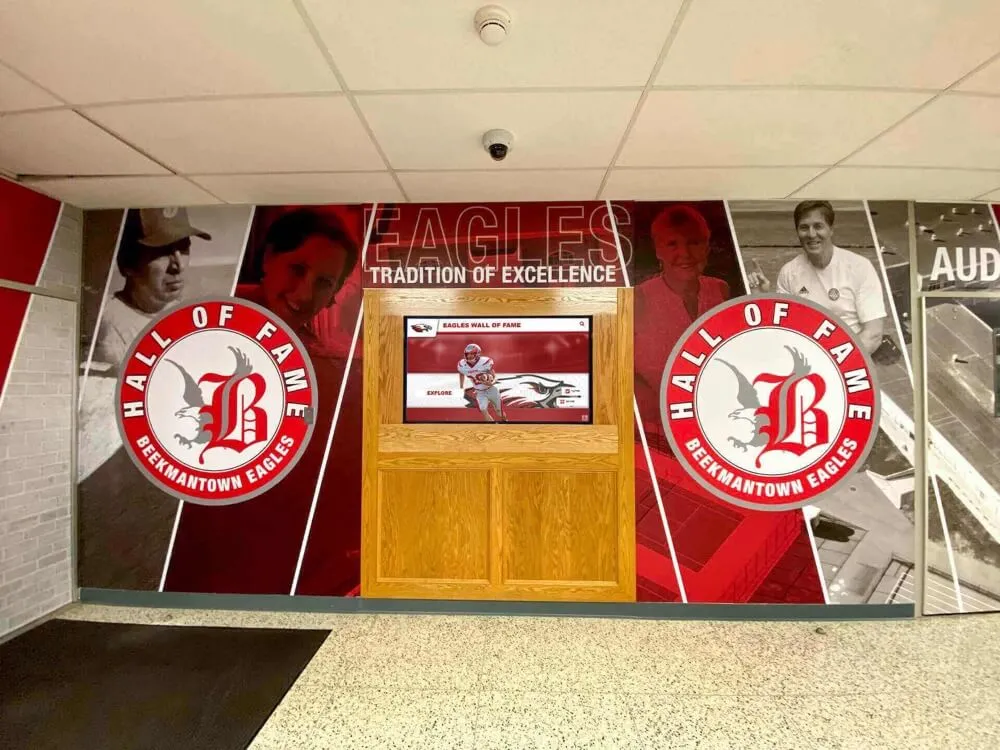
Freestanding Kiosk Installations
Freestanding kiosks house displays in self-contained enclosures that stand independently, offering flexibility in placement and easier installation in some environments.
Installation Requirements:
- Floor mounting or weighted bases ensuring stability and preventing tipping
- Power and network cables running to kiosk locations (often through floor or concealed along walls)
- ADA-compliant clear floor space around interactive kiosks (typically 30" x 48" minimum)
- Consideration of traffic patterns ensuring kiosks don’t create obstacles or congestion
- Coordination with facilities staff regarding floor penetrations if permanent mounting desired
Best For: Schools lacking suitable wall space, locations where wall mounting is prohibited or impractical, installations requiring flexibility to relocate displays, and spaces where freestanding presence creates desired visual impact.
Installation Timeline: Typically 1-2 days, potentially faster than wall-mounting in challenging wall environments.
Cost Considerations: Kiosks generally cost more than wall-mounting due to enclosure manufacturing, but may reduce installation labor in difficult wall situations.
Many schools implementing athletic hall of fame displays choose freestanding kiosks for flexibility and visual prominence in lobby areas.

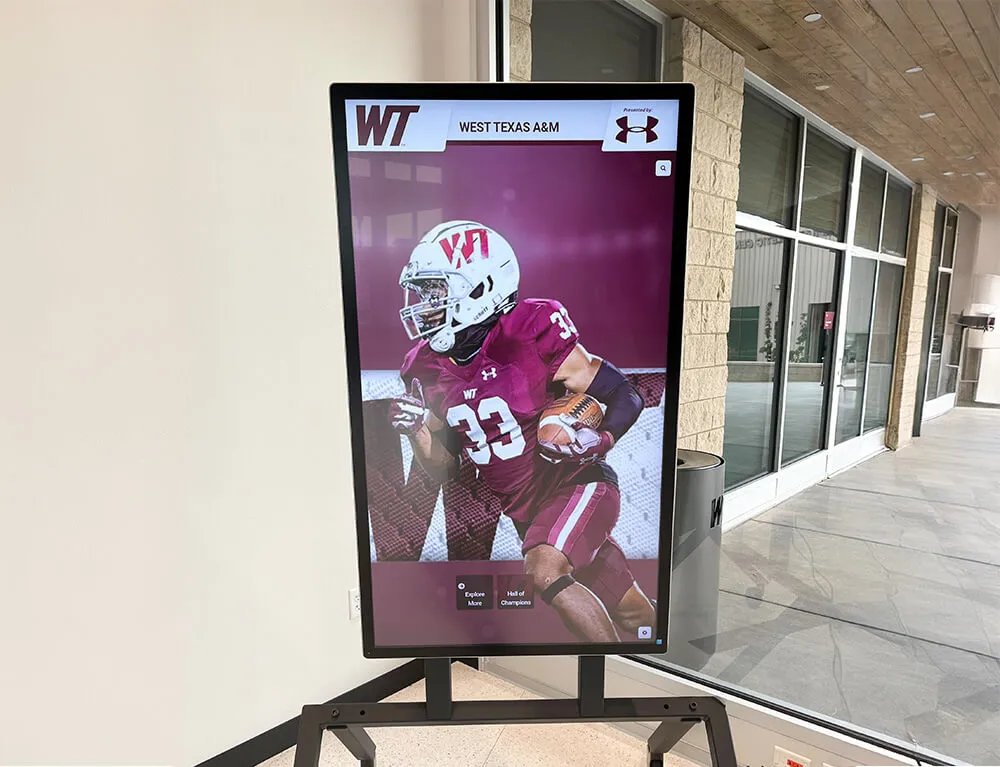
Freestanding kiosks offer flexible placement options and prominent visual presence in recognition areas
Power and Network Infrastructure: Technical Requirements
Understanding electrical and network requirements helps schools prepare for installations and budget appropriately for infrastructure work.
Electrical Power Requirements
Digital displays require reliable power delivery meeting specific electrical specifications.
Typical Power Specifications:
- Commercial displays: 100-400 watts depending on screen size
- Standard 120V AC power (typical North American electrical systems)
- Dedicated circuit recommended for reliability and code compliance
- Surge protection required to protect sensitive electronics
- Uninterruptible Power Supply (UPS) recommended for mission-critical installations
Installation Considerations:
- Distance from existing electrical panels affects installation cost
- Code requirements may mandate specific conduit types and installation methods
- Permits and electrical inspections typically required for new circuit installation
- Some jurisdictions require licensed electricians for all electrical work
- Emergency power compatibility if displays should function during outages
Cost Factors:
- Basic installation tapping existing nearby circuits: $200-$500
- New dedicated circuit from distant panel: $500-$2,000 depending on distance and complexity
- Conduit runs through finished walls or ceilings: $30-$75 per linear foot
- Electrical permits and inspection fees: $100-$500 depending on jurisdiction
Network Connectivity Requirements
Digital recognition displays require network access for content management, updates, and remote support.
Network Specifications:
- Minimum 10 Mbps connection (100 Mbps recommended)
- Wired Ethernet preferred for reliability (WiFi acceptable in some installations)
- Static IP addresses or DHCP reservations for consistent access
- Firewall configurations allowing content management system communication
- VPN access if remote support will be provided
Installation Options:
Wired Ethernet (Recommended):
- Category 6 cable run from network closet to display location
- Professional termination and testing ensuring reliable connectivity
- Network switch port configuration and VLAN assignment
- Most reliable option with consistent performance
Wireless WiFi:
- Adequate WiFi coverage at display location (verify during site survey)
- Dedicated SSID and credentials for display devices
- Consider separate network segment for security
- May require access point installation if coverage inadequate
Installation Costs:
- New Ethernet cable run: $100-$300 per drop depending on distance
- Network switch port activation: often no cost if capacity exists
- WiFi access point installation: $500-$1,500 if required
- Network configuration by IT staff: internal cost (1-4 hours typically)
Schools implementing digital donor wall solutions should involve network administrators early in planning to ensure connectivity requirements are understood and budgeted.
Turnkey vs. DIY Installation: Choosing the Right Approach
Schools face fundamental decisions about how much installation responsibility to assume versus delegating to vendors.
Turnkey Installation Packages
Full-service vendors manage every aspect of installation, providing complete solutions from planning through commissioning.
What’s Included:
- Complete project management and vendor coordination
- Site assessment and technical planning
- All hardware procurement and delivery
- Complete installation including mounting, power, network
- Software configuration and content setup
- Staff training and ongoing support
- Single-point warranty and accountability
Advantages:
- Minimal internal staff time required
- Professional expertise ensures quality results
- Single vendor accountability simplifies problem resolution
- Predictable costs and timelines
- Reduced risk of coordination failures between trades
- Guaranteed working system at project completion
Considerations:
- Higher total cost due to vendor overhead and project management
- Less flexibility to source components competitively
- Dependence on vendor for changes and updates
- May include features or services beyond actual needs
Best For: Schools without technical staff, institutions preferring predictable outcomes, projects with tight timelines, and organizations valuing convenience over cost optimization.
Component-Based DIY Approach
Schools with technical capabilities can source components separately and coordinate installation internally or with local contractors.
What Schools Manage:
- Researching and specifying display hardware
- Procuring displays, mounting hardware, and accessories
- Hiring and coordinating electricians, network installers, and mounting contractors
- Managing software installation and configuration
- Creating or sourcing content management solutions
- Ongoing system maintenance and support
Advantages:
- Possible cost savings through competitive sourcing
- Complete control over specifications and components
- Flexibility to phase project based on budget availability
- Builds internal expertise with systems
Challenges:
- Requires significant staff time for research, coordination, and project management
- Risk of incompatible components or inadequate specifications
- No single vendor accountability when problems arise
- May result in delayed timelines due to coordination complexity
- Hidden costs in staff time and learning curves
- Risk of inferior results without professional expertise
Best For: Schools with experienced AV or IT staff, institutions with existing vendor relationships, projects where budget constraints are primary driver, and organizations comfortable managing technical complexity.
Hybrid Approaches
Many schools find middle-ground solutions balancing cost control with professional expertise.
Common Hybrid Models:
- School sources display hardware; vendor handles installation and software
- Vendor provides complete solution; school handles ongoing content management
- School facilities staff handles infrastructure; vendor installs and configures displays
- Vendor provides initial installation; school IT manages system long-term
These approaches can reduce costs while ensuring professional installation quality, though they require clear agreements about scope and responsibilities between parties.
Institutions exploring recognition program implementation should honestly assess internal capabilities before committing to DIY approaches that may exceed staff expertise or available time.
What to Look for in a Digital Hall of Fame Installation Partner
Selecting the right installation partner significantly impacts project success, long-term satisfaction, and total cost of ownership.
Technical Competence and Experience
Installation expertise specific to digital recognition displays ensures professional results.
Key Qualifications:
- Portfolio of completed installations in similar environments (schools, nonprofits, institutions)
- Experience with interactive touchscreen installations and ADA compliance requirements
- Knowledge of commercial display technology and professional mounting systems
- Network integration capabilities and IT security awareness
- Electrical code knowledge and licensed electrician access
- Project management experience coordinating multiple trades and timelines
Questions to Ask:
- How many digital hall of fame or donor wall installations have you completed?
- Can you provide references from schools or nonprofits similar to ours?
- What certifications or training do your installation technicians hold?
- How do you handle unexpected challenges discovered during installation?
- What is your warranty on installation work separate from equipment warranties?
Complete Solution Integration
The best installation partners provide integrated solutions rather than just hardware mounting services.
Beyond Basic Installation:
- Content management software designed for recognition applications
- Donor database integration or data import capabilities
- Recognition-specific design templates and layouts
- Training on content updates and system management
- Ongoing technical support and software updates
- Future scalability as recognition needs grow
Why Integration Matters:
- Ensures all components work together seamlessly
- Simplifies ongoing management with unified systems
- Provides single-point support when issues arise
- Reduces total cost of ownership by eliminating integration work
Responsive Support and Maintenance
Installation is just the beginning. Long-term success requires accessible support and maintenance.
Support Considerations:
- Response times for technical issues affecting display operation
- Remote diagnostic and troubleshooting capabilities
- Access to replacement parts and service technicians
- Software update and security patch management
- Content assistance and design support options
- Training refreshers as staff changes over time
Maintenance Options:
- Preventive maintenance programs extending system life
- Priority response for mission-critical installations
- Extended warranty options beyond standard coverage
- Software licensing terms and long-term costs
- System monitoring and proactive issue detection
Transparent Pricing and Value
Understanding complete project costs and long-term value prevents budget surprises.
Pricing Transparency:
- Detailed quotes breaking out hardware, software, installation, and support costs
- Clear identification of optional vs. required components
- Explanation of ongoing costs (software licenses, support contracts, update fees)
- No hidden charges or surprise fees during installation
- Written warranties and service level agreements
Value Assessment:
- Total cost of ownership over expected system life (5-10 years typically)
- Scalability costs if recognition needs expand
- Staff time savings from intuitive management systems
- Reliability reducing support calls and downtime
- Donor stewardship value from professional presentation
Organizations planning nonprofit recognition display projects should evaluate vendors based on complete solutions rather than simply lowest hardware costs.
Rocket Alumni Solutions: Complete Turnkey Installation and Support
For schools and institutions seeking comprehensive digital hall of fame solutions with professional installation, Rocket Alumni Solutions provides fully integrated recognition platforms with complete turnkey implementation.
What Makes Rocket Alumni Solutions Different
Unlike component vendors or basic digital signage providers, Rocket specializes specifically in recognition applications for educational institutions, athletic programs, and nonprofit organizations.
Complete Turnkey Service:
- Initial consultation understanding recognition objectives and donor stewardship goals
- Professional site assessment evaluating optimal placement and infrastructure requirements
- Custom design services creating recognition layouts matching institutional branding
- Complete installation handling mounting, power, network, and configuration
- Comprehensive software platform purpose-built for donor and achievement recognition
- Unlimited content storage without capacity limits or per-entry fees
- Staff training ensuring schools can independently manage content updates
- Ongoing support and software updates maintaining system performance
Recognition-Focused Features
Purpose-built features address specific recognition needs rather than generic digital signage capabilities.
Donor Recognition Capabilities:
- Tiered giving level displays honoring contributors at all levels
- Campaign progress tracking showing fundraising momentum
- Individual donor profiles with photos, stories, and contribution details
- Searchable databases allowing visitors to find specific donors
- Flexible content organization by campaigns, time periods, or categories
- Recognition policy compliance tools ensuring appropriate acknowledgment
Athletic and Achievement Recognition:
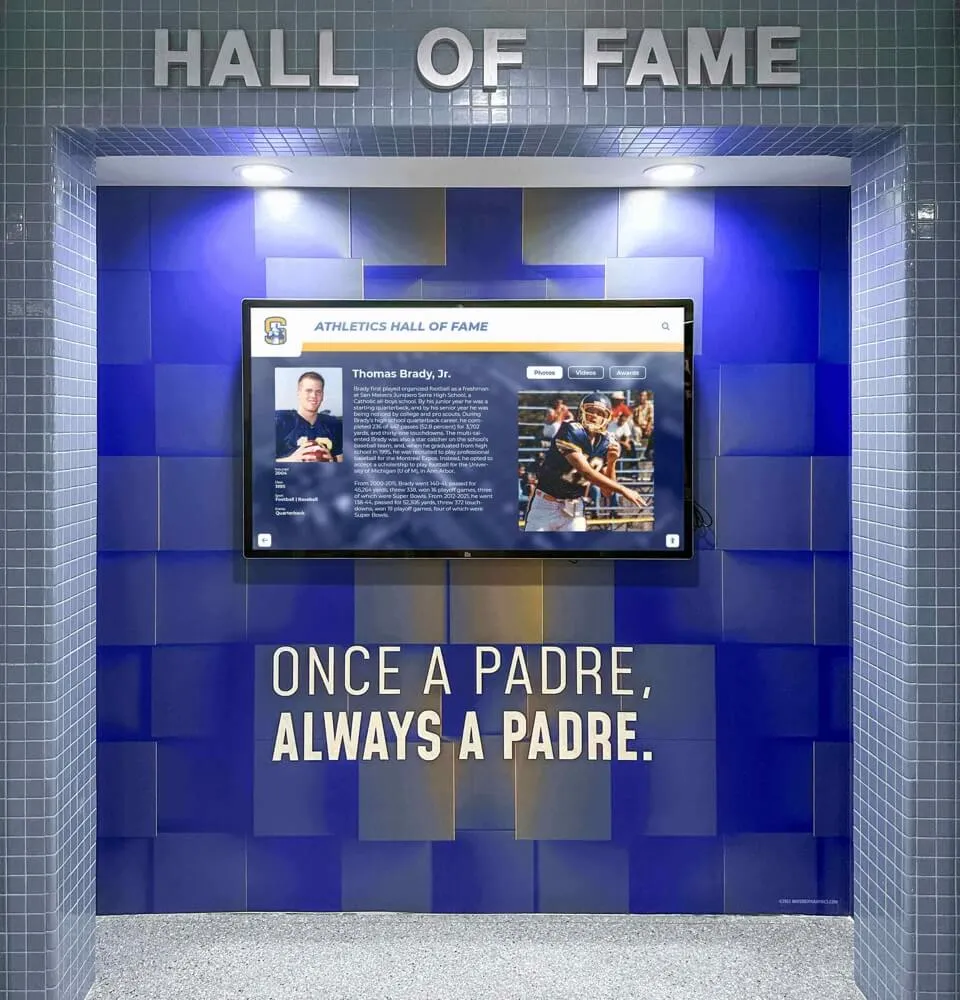
- Hall of fame inductee profiles celebrating legends
- Season and career record boards displaying team achievements
- Championship history timelines preserving competitive success
- Individual athlete spotlights with statistics and accomplishments
- Team rosters and photo galleries documenting programs
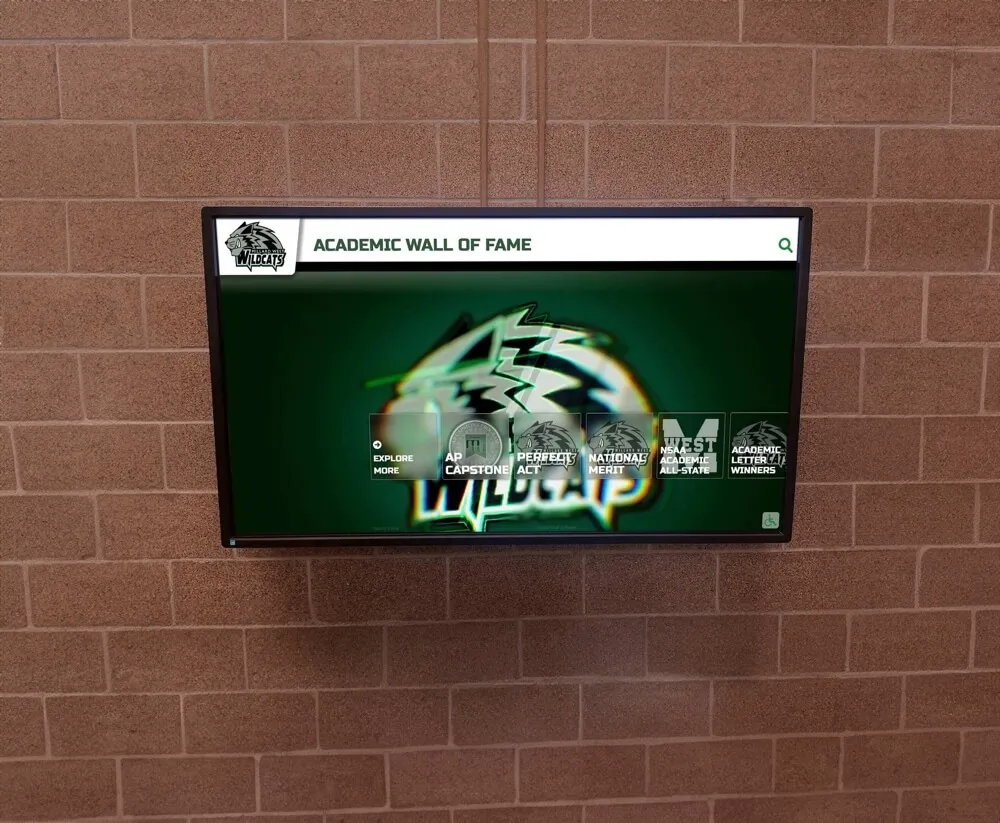
- All-state and academic honor roll recognition
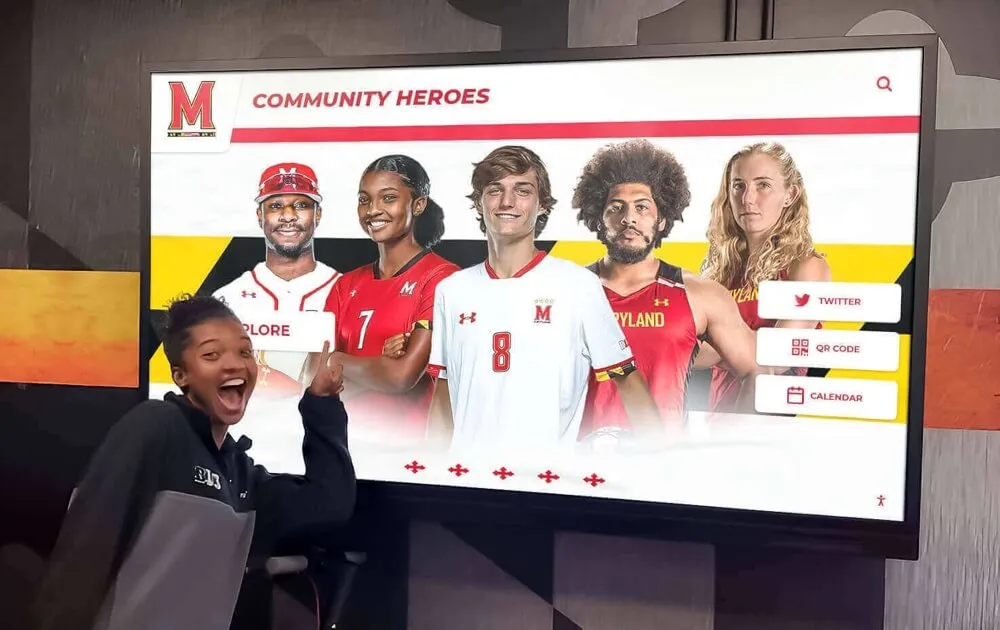
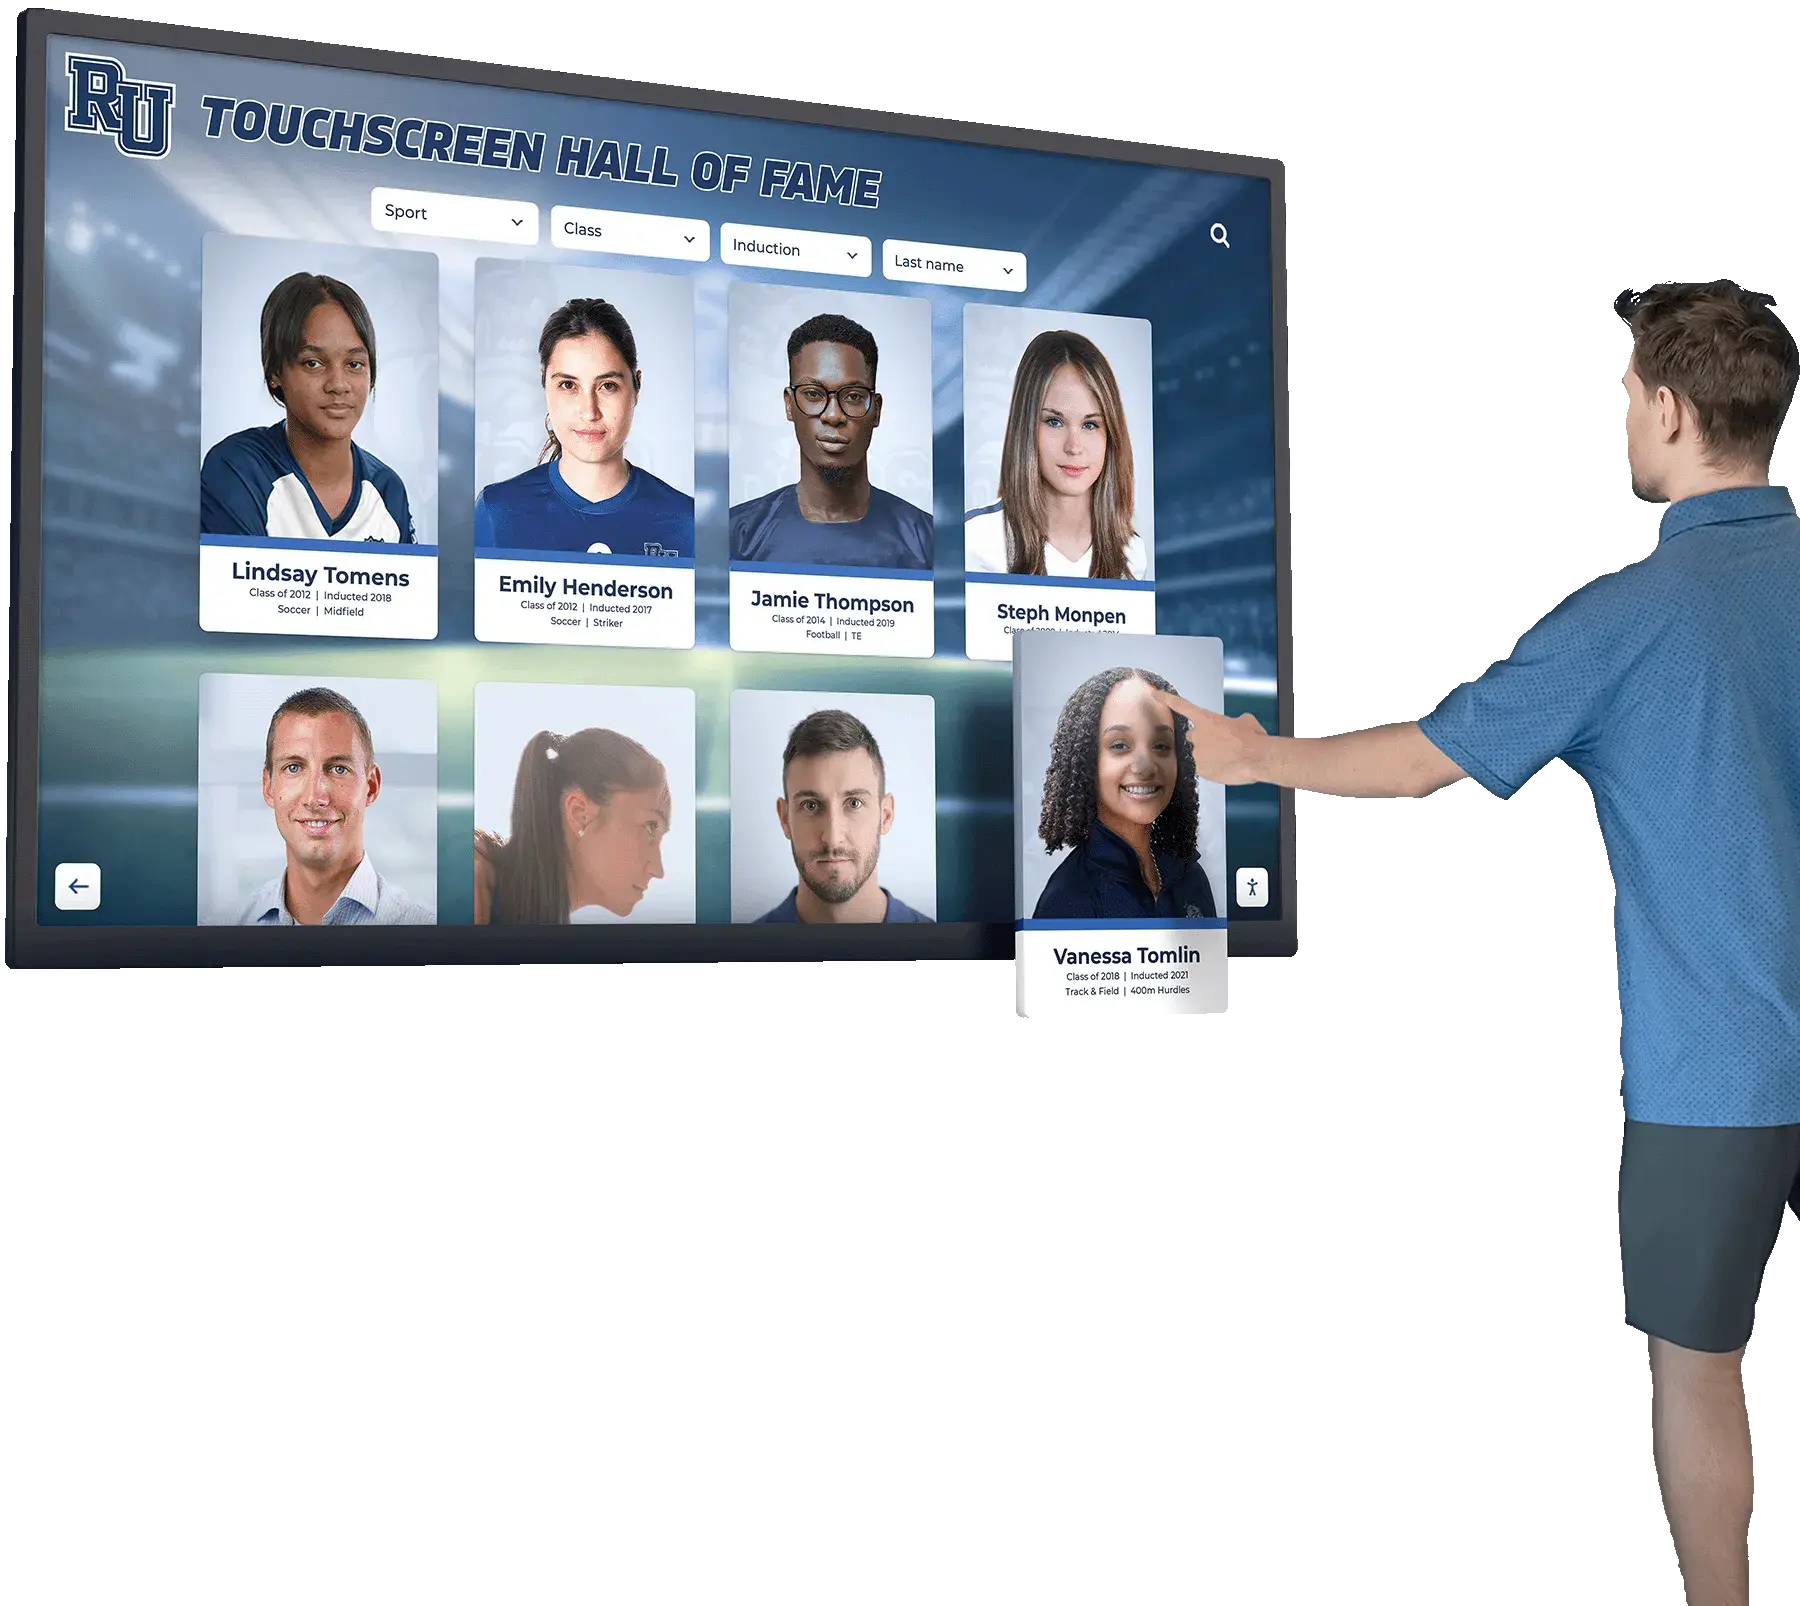
Interactive Engagement:
- Touchscreen navigation allowing self-directed exploration
- Search functionality finding specific individuals or achievements
- Photo galleries and video content bringing stories to life
- Social sharing enabling digital celebration beyond physical displays
- Mobile access extending recognition to web and smartphone platforms
Simplified Long-Term Management
Rocket’s cloud-based content management system allows schools to update recognition displays from any computer without technical expertise.
Easy Content Updates:
- Intuitive web interface requiring no coding or technical skills
- Template-based designs ensuring consistent professional appearance
- Batch import tools adding multiple honorees simultaneously
- Photo upload and management for visual content
- Preview capabilities reviewing changes before publishing
- Scheduled content updates automating seasonal or event-based displays
No Capacity Limits:
- Unlimited entries across all recognition categories
- No per-person fees or ongoing charges for adding honorees
- Expandable system growing with institutions over decades
- Archive capabilities preserving historical recognition
Many institutions implementing digital recognition solutions choose Rocket Alumni Solutions for comprehensive turnkey service ensuring professional results without internal technical burden.
Installation Timeline and Planning Considerations
Understanding realistic project timelines helps schools plan installations around academic calendars and facility availability.
Typical Project Timeline
Complete digital hall of fame installations generally follow 6-12 week timelines from initial consultation to system commissioning.
Planning Phase (2-4 Weeks):
- Initial consultation and needs assessment
- Site survey and technical evaluation
- Design development and approvals
- Quote review and contract execution
- Project kickoff and coordination planning
Preparation Phase (2-4 Weeks):
- Infrastructure installation (electrical, network)
- Wall preparation or kiosk foundation work
- Hardware procurement and delivery
- Permits and inspections as required
- Coordination with school facilities staff
Installation Phase (1-2 Weeks):
- Display mounting and installation
- Power and network connection
- Software installation and configuration
- Initial content setup and testing
- System commissioning and quality checks
Training and Launch (1 Week):
- Staff training on content management
- Final adjustments and refinements
- Public launch and community introduction
- Formal acceptance and project closeout
Optimal Installation Timing
Schools should consider facility access and academic schedules when planning installations.
Best Installation Windows:
- Summer breaks when reduced building occupancy simplifies infrastructure work
- Extended holiday breaks for shorter projects
- Weekends and evenings for installations minimizing disruption
- Timed to launch before major events (homecoming, galas, reunions)
- Coordinated with building renovation or construction projects
Timing Considerations:
- Allow 3-6 months lead time from decision to installation for major projects
- Plan content preparation concurrent with installation phases
- Consider donor announcement timing and stewardship events
- Account for permitting timelines and facility approval processes
- Budget for possible weather delays affecting construction work
Schools implementing recognition displays for annual fundraising events should begin planning 6-9 months in advance to ensure completion before event dates.
Cost Considerations and Budget Planning
Understanding complete project costs helps schools budget appropriately for digital hall of fame installations.
Hardware and Software Costs
Recognition display systems include multiple cost components beyond just screen purchases.
Display Hardware:
- Commercial-grade displays (43"-65" typical): $1,500-$5,000 per screen
- Touchscreen capabilities add $500-$2,000 depending on technology
- Mounting hardware (wall brackets or kiosks): $300-$3,000
- Protective enclosures for public spaces: $500-$2,000
Infrastructure Costs:
- Electrical installation: $200-$2,000 depending on distance and complexity
- Network infrastructure: $100-$1,500 per location
- Wall preparation or reinforcement: $200-$1,000 if required
- Permits and inspections: $100-$500
Software and Services:
- Content management software: varies by vendor model
- Initial content setup and design: $500-$3,000
- Staff training: typically included in turnkey solutions
- Ongoing software licenses or support: varies by vendor
Total Project Investment:
- Basic single-display installation: $5,000-$12,000
- Mid-range professional installation: $12,000-$25,000
- Premium multi-display systems: $25,000-$50,000+
Ongoing Costs
Beyond initial installation, schools should budget for long-term operating expenses.
Annual Operating Costs:
- Electricity (minimal): $50-$200 per display annually
- Internet connectivity: typically no incremental cost
- Software licenses or support contracts: $0-$2,000 annually depending on vendor
- Content updates (if outsourced): $500-$3,000 annually
- Preventive maintenance: $200-$1,000 annually
Long-Term Considerations:
- Display replacement cycles: 5-10 years typical lifespan
- Technology refreshes: plan for eventual system upgrades
- Content creation: ongoing photography and design needs
- Staff time: content management and system administration
Maximizing Value and ROI
Smart planning decisions improve recognition investments.
Value Maximization Strategies:
- Choose expandable systems supporting growth without replacement
- Select vendors offering unlimited content capacity avoiding per-entry fees
- Prioritize intuitive management reducing ongoing support costs
- Consider total cost of ownership over 10 years rather than just initial price
- Evaluate donor stewardship value and fundraising impact beyond direct costs
Comparing Options:
- Turnkey solutions typically cost more initially but reduce long-term support burden
- DIY approaches may save on initial installation but increase staff time requirements
- Hardware-only purchases create ongoing software licensing and support costs
- Purpose-built recognition platforms typically outperform adapted digital signage systems
Making Your Installation Decision
Successful digital hall of fame installations result from careful vendor selection, realistic assessment of internal capabilities, and clear project planning.
Key Decision Factors:
Technical Capabilities: Honestly assess whether internal staff have expertise and time to coordinate complex installations, or whether turnkey solutions better match organizational capacity.
Budget Constraints: Understand total project costs including installation, software, training, and ongoing support when comparing vendor options and approaches.
Recognition Objectives: Ensure installation partners understand donor stewardship, recognition policies, and institutional culture beyond just mounting displays.
Long-Term Support: Evaluate vendor responsiveness, support availability, and system reliability ensuring installations continue functioning effectively for years.
Scalability: Select solutions supporting future growth as recognition needs expand without requiring complete system replacement.
The most successful installations partner schools with vendors sharing commitment to celebrating achievement, honoring donors, and preserving institutional legacy through professional recognition displays that inspire current community members while welcoming future generations.
Organizations ready to implement professional digital recognition displays benefit from consulting with specialists who understand both the technical installation requirements and the deeper recognition and stewardship objectives these systems serve.
Book a demo to explore how Rocket Alumni Solutions provides complete turnkey installation, purpose-built recognition software, and ongoing support helping schools honor donors, celebrate achievements, and strengthen community connections through professional digital hall of fame displays.